
Last updated November 22, 2026
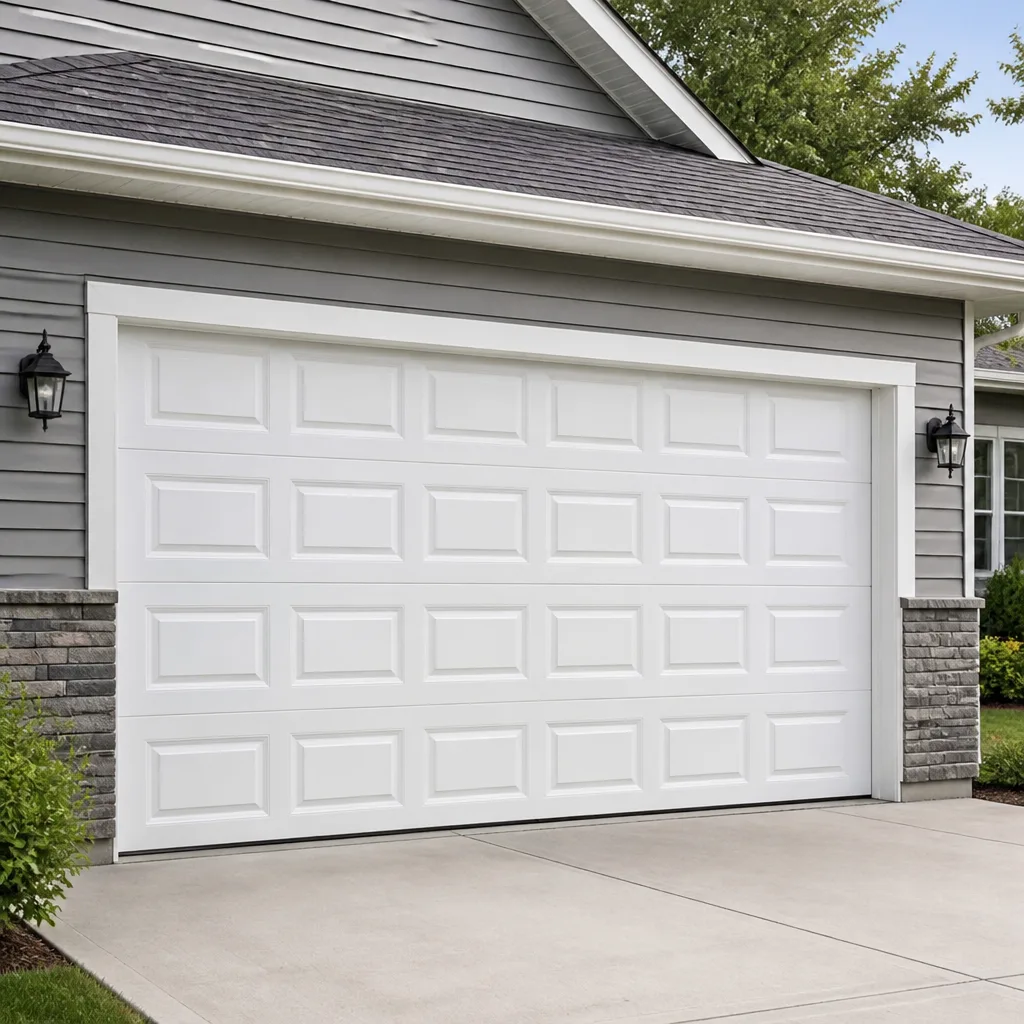 Raised-panel steel
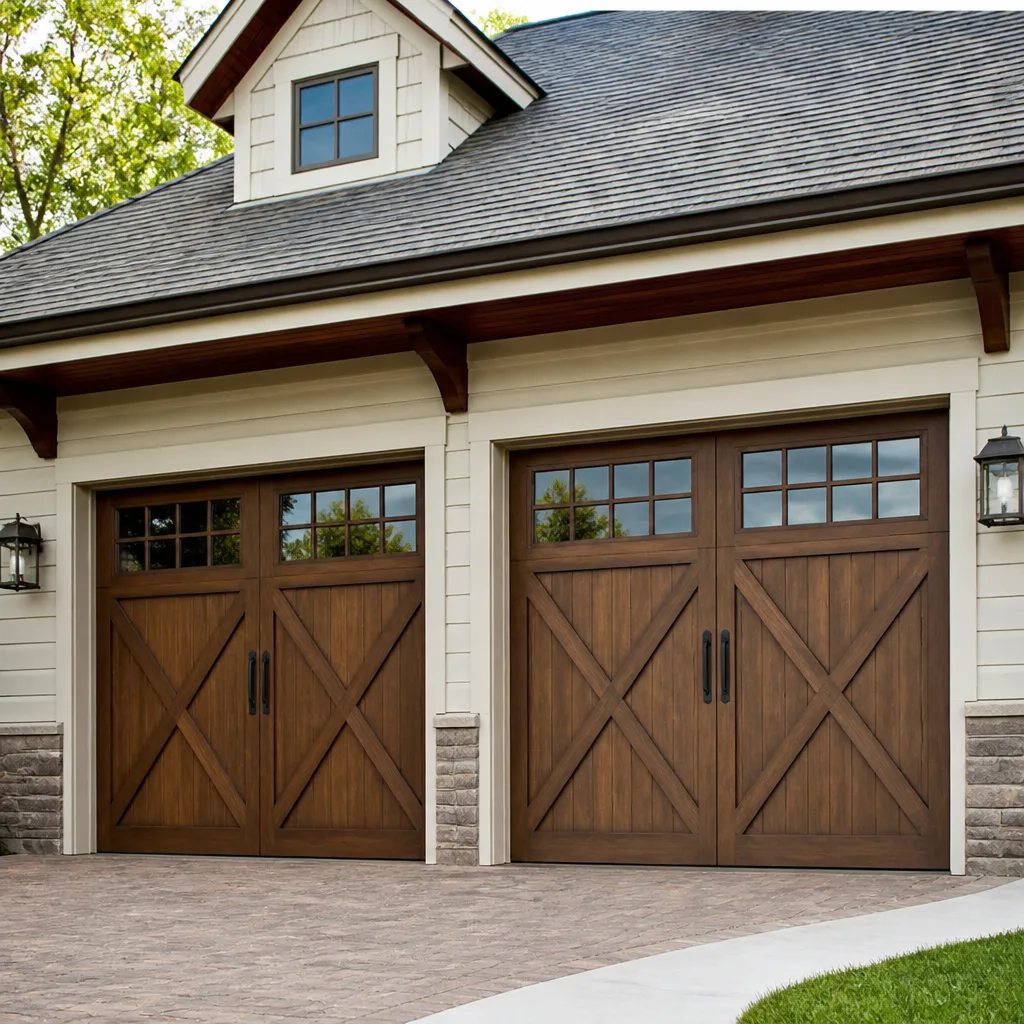 Carriage house
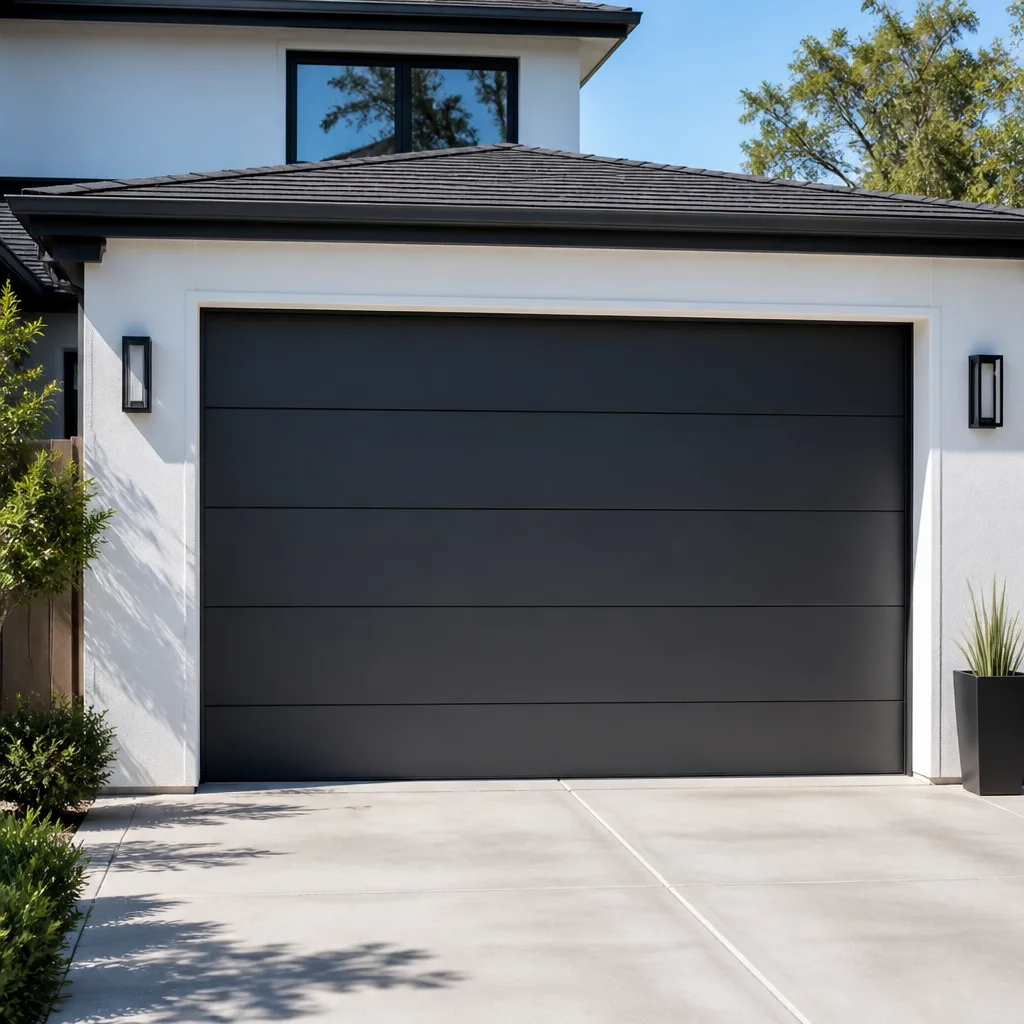 Modern flush
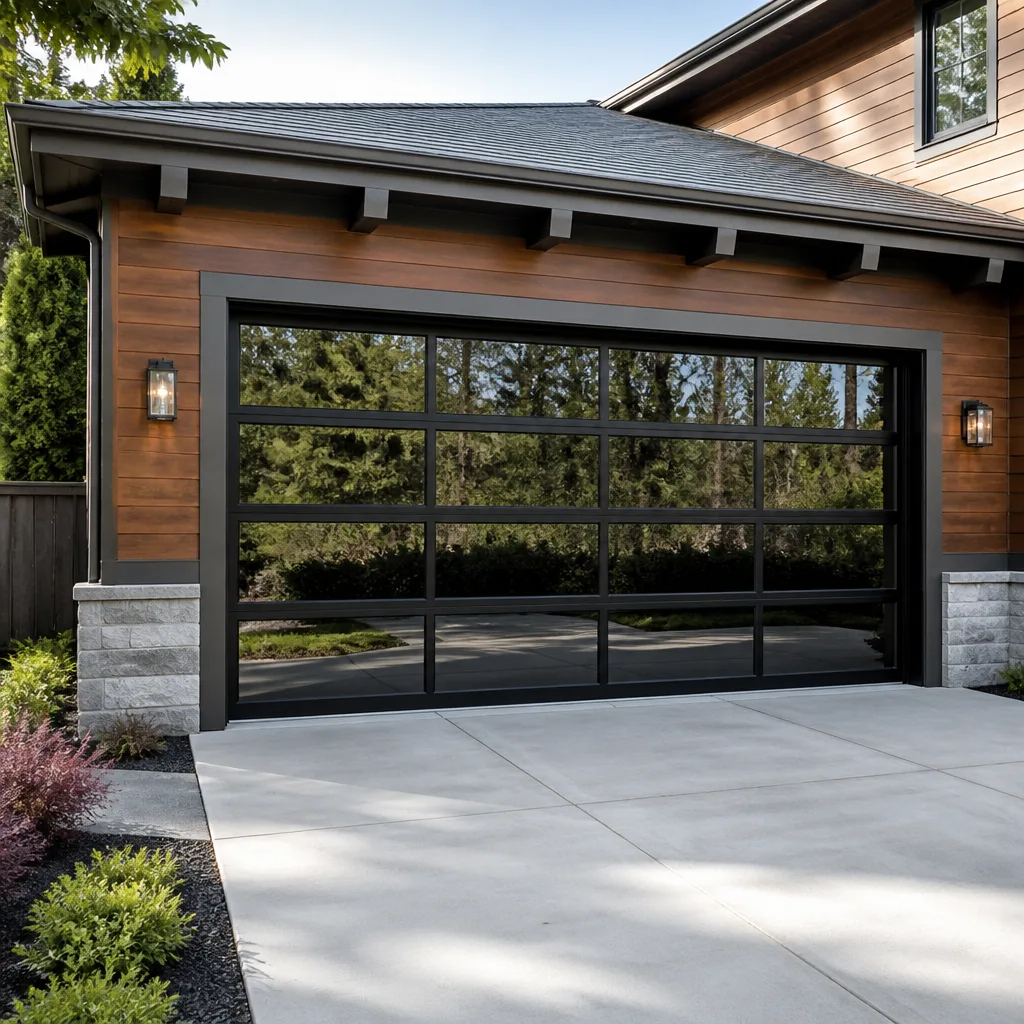 Full-view glass
 LiftMaster openers
 Chamberlain openers
Full 25-point door and opener safety check with every visit - springs, cables, rollers, tracks, and your LiftMaster or Chamberlain opener included
You get a price before we start. It does not change when the pro arrives.
Get your free estimateGarage Door Repair Troubleshooting in Edison: Common Problems and How to Fix Them
A garage door that reverses before it reaches the floor usually isn’t broken. Its safety sensors are out of line by as little as an eighth of an inch, and the door is doing exactly what it was built to do. That single distinction decides whether you’re spending a few minutes on an adjustment or scheduling a service call. Most homeowners in Edison chase the symptom instead of the mechanism: a loud bang, a door that won’t close, an opener that hums and does nothing. This guide works the other way. We’ll trace each failure back to the component that caused it, in the order those components actually fail, and show you which tests are safe to run yourself and which belong to a technician.
Quick Answer
Most garage door problems in Edison trace to one of five components: springs, cables, rollers, tracks, or the opener logic board, roughly in that order of failure likelihood. You can safely check sensors, balance, and the manual release yourself. Spring tension, cable replacement, and opener board work require a trained technician because the stored energy in the system can cause serious injury.
Styles & brands we work with
- Raised-panel steel
- Carriage house
- Modern flush
- Full-view glass
- LiftMaster openers
- Chamberlain openers
Table of Contents
- The Order of Failure: A Component-by-Component Diagnostic Map
- Spring Failure or Cable Drum Failure? How to Tell Them Apart
- Tests You Can Safely Run Yourself
- How Edison’s Humidity Swings Affect Your Hardware
- Opener Error Code Basics: LiftMaster, Chamberlain, Genie, and Craftsman
- Why Your Door’s Brand Changes the Diagnosis
The Order of Failure: A Component-by-Component Diagnostic Map
Garage door systems fail in a predictable order. Springs carry the door’s weight and cycle thousands of times, so they wear first. Cables fray and jump their drums second. Rollers flatten and seize third. Tracks bend fourth. The opener’s logic board is usually last, because it’s the one part that isn’t bearing a mechanical load. When we troubleshoot a door in Edison, we work down that list rather than alphabetically or by what looks most dramatic. The loudest symptom is rarely the origin.
Here’s how each component announces itself:
- Springs: A sharp bang from inside the garage, a door that suddenly feels like it weighs a hundred pounds, or a visible gap in a torsion spring coil above the door. Extension springs show a stretched or broken coil on the side tracks.
- Cables: Frayed strands near the drum, a cable hanging slack off its spool, or a door that lifts crookedly on one side. A snapped cable often whips and dents the door panel.
- Rollers: Grinding, squealing, or a door that shudders as it travels. Nylon rollers wear quietly; steel rollers get loud before they fail.
- Tracks: A visible kink, especially at the curve where the vertical track meets the horizontal, or a door that binds at one height.
- Opener logic board: The motor runs but the door doesn’t move, the door reverses for no clear reason, or the wall button works while the remotes don’t.
The value of this order is speed. If the springs are intact and the door still won’t lift, you’ve eliminated the most common cause in about ten seconds and moved to cables. When a door fails in Edison and the owner tells us what they heard first and what they saw second, that sequencing usually narrows the diagnosis to one or two parts before anyone arrives. It’s also why we ask what the door did leading up to the failure, not just what it’s doing now.
Spring Failure or Cable Drum Failure? How to Tell Them Apart
Both failures produce the same headline symptom: the door won’t lift, or the opener strains and stops. The difference is where the energy went. A broken torsion spring releases its stored tension at once with a loud report, and afterward the door is dead weight. A failed cable drum or snapped cable lets the door drop unevenly, so one side lifts and the other sags, or the door hangs visibly crooked in the opening.
Run through this comparison before you call:
- Listen for the bang. A single loud crack from the garage that startles the house usually means a tension spring let go. Cables fail with a metallic snap and often a panel dent.
- Look at the door’s posture. A level door that won’t budge points to springs. A crooked or tilted door points to a cable or drum on one side.
- Check the gap above the door. A torsion spring has a visible break in the coil. Extension springs stretch along the upper tracks and will show a dangling or separated coil.
- Try the manual release. Pull the red cord to disconnect the opener, then try lifting the door by hand. If it’s nearly impossible to raise, the counterbalance system has failed, which means springs or cables, not the opener.
- Look for slack. A cable coiled loosely at the bottom of the track or bunched at the drum confirms a cable failure.
Here’s where we ask you to stop. Both springs and cables are under extreme tension, and adjusting either one requires specific tools and training. A torsion spring can store enough force to break a bone. Do not attempt to wind, unwind, or reattach either component. When a door in Edison needs garage door spring repair, that’s a job for a technician trained on high-tension assemblies, and our technicians have up to 11 years of experience with exactly this kind of work.
Tests You Can Safely Run Yourself
You can diagnose a surprising amount of a garage door problem without touching a loaded component. These tests are safe, quick, and they give a technician precise information. Run them in order and note what you find.
The Manual Disconnect Test
Pull the red release cord hanging from the opener carriage. This disconnects the door from the opener motor. Now move the door by hand. A properly balanced door lifts with modest effort and stays put when you let go halfway up. A door that slams down or refuses to rise has a counterbalance problem, and you’ve just confirmed it’s mechanical, not electrical. Reconnect the carriage before you finish.
The Balance Test
With the door disconnected, raise it to waist height and release it. It should hold position. If it drifts down on its own, the springs are losing tension. If it drifts up, the springs are set too tight. Either way, a technician needs to adjust the counterbalance, not you.
The Sensor Test
With the door open, wave an object through the beam between the two photo-eye sensors near the floor. The door should refuse to close, and the opener light may blink. If the door closes anyway, the sensors aren’t doing their job. Wipe the lenses, check that both units point squarely at each other, and look for a bent bracket. Misalignment by an eighth of an inch is enough to cause a reversal mid-travel.
The Obstruction Test
Place a two-by-four flat on the floor in the door’s path and close the door. It should reverse on contact. If it presses down and stops instead, the opener’s force setting is too high, and that’s a safety issue worth fixing.
What you shouldn’t test: spring tension, cable tension, and anything involving loosening a bracket or winding a drum. Those carry real injury risk. If your tests point to springs or cables, that’s when you call. We answer 24/7 and dispatch Sunday through Friday, 7am to 7pm.
How Edison’s Humidity Swings Affect Your Hardware
Edison sits in a climate with sharp seasonal humidity swings, and those swings wear hardware differently than a steady dry or steady damp environment. Summer brings stretches of high humidity; winter brings dry, cold air. Metal expands and contracts with those shifts, and fasteners that were snug in July can loosen by February. That cycling is why we look at hardware grade as much as at the part itself when a door starts misbehaving in Edison.
Galvanized hardware and zinc-plated hardware age at different rates under that swing. Galvanized coatings are thicker and more forgiving of repeated moisture exposure, so they hold up longer on brackets, hinges, and track fasteners. Zinc plating is thinner and bright, and while it’s fine in a stable environment, repeated condensation cycles can dull it and eventually let surface rust start at edges and bolt heads. That rust doesn’t fail a spring, but it does seize rollers, freeze hinge pins, and make a door stiff and noisy. In our experience, doors in Edison that sit on the shaded side of a house or over an unheated garage show hardware wear sooner, because condensation lingers longer there.
What that means for troubleshooting:
- If your door gets stiff and loud as the seasons change, suspect roller and hinge wear before the opener.
- Check bolt heads and brackets for rust bloom. It’s an early sign hardware is aging unevenly.
- A door that worked fine in fall and binds in spring often has swollen or seized rollers, not a bent track.
- Keep the tracks clean and dry. Debris and moisture together accelerate wear at the curve.
We bring this up because homeowners in Edison often replace an opener when the real problem is a set of worn rollers and a stiff hinge. Diagnosed correctly the first time, that’s a smaller repair than the one the symptom suggested.
Opener Error Code Basics: LiftMaster, Chamberlain, Genie, and Craftsman
Modern openers tell you what’s wrong if you know where to look. Most units flash an LED or a set of up-and-down lights in a pattern, and that pattern maps to a fault class. The exact code sequence varies by model, so check the label inside the motor housing for your model number and cross-reference the manual. But the fault classes are consistent enough to guide you.
- Sensor fault: Usually a rapid blink on one or both indicator lights, or a brief flash when you try to close. The door goes up but not down. Check alignment, wiring at the sensor, and sun glare on the receiving eye.
- Travel limit fault: The door stops short or reverses near the top or bottom. The open or close limit switch has drifted. This is an adjustment, not a failure.
- Force fault: The door reverses on the way down as if it hit something. Either the force setting is too low, or something is actually binding in the track.
- Safety reversal fault: The opener logs a reversal and locks out after repeated trips. Clear the obstruction, then reset by cycling the wall control.
- Logic or board fault: Erratic behavior, remotes that stop working while the wall button works, or a motor that runs without moving the door. This is where board-level diagnosis starts.
LiftMaster and Chamberlain units share a lot of circuitry and use similar diagnostic blink patterns. Genie models often use a numbered error on the wall console. Craftsman openers from the Sears era vary widely by generation, which is exactly why knowing the model matters. If you’re seeing a code you can’t place, tell us the brand and model when you call. We work on your exact system, not a generic guess. For anything that points to the board itself, that’s garage door opener repair territory and worth a proper diagnosis.
Why Your Door’s Brand Changes the Diagnosis
Two doors can show the same symptom and need different fixes because the hardware underneath is built differently. A Raynor door and a Clopay door both hang on torsion springs, but the drum geometry, track profile, and hinge spacing differ, and so does the way a worn part announces itself. The same goes for openers: a Genie and a LiftMaster can both flash a sensor fault, but the reset procedure and the wiring layout aren’t identical.
That’s the practical reason we keep familiarity with eight of the industry’s most widely installed brands: LiftMaster, Chamberlain, Genie, Clopay, Amarr, Wayne Dalton, Craftsman, and Raynor. It means when a door in Edison fails, the technician arrives already knowing how that system is put together instead of working it out on your driveway. It also means fewer return visits, because the first diagnosis was the right one.
A few brand-specific notes worth knowing:
- Older Craftsman openers often have discontinued logic boards. Diagnosis matters more there, because a board swap isn’t always the fix.
- LiftMaster and Chamberlain smart openers with myQ connectivity can throw app and Wi-Fi faults that look like mechanical problems but aren’t.
- Wayne Dalton door models with proprietary hardware sometimes need specific replacement parts rather than universal ones.
- Raynor commercial-grade tracks resist bending better than light residential profiles, but their rollers still wear on the same schedule.
None of this changes the diagnostic order. Springs first, cables second, hardware third, tracks fourth, board last. The brand just tells you what each of those parts looks like and how it’s likely to fail. If you already know your door is due for garage door repair and want it diagnosed correctly the first time, that’s the work we do across Edison.
Common Mistakes to Avoid
- Assuming the opener is at fault when the door won’t lift. Nine times out of ten it’s the counterbalance system. The opener is just the messenger, and replacing it won’t fix a broken spring.
- Winding or adjusting a torsion spring yourself. Springs are under extreme tension and can cause serious injury. This is the one part of the system that should never be a homeowner project, no matter how many videos you’ve watched.
- Ignoring a frayed cable. A cable with broken strands can snap and whip, denting panels and, in rare cases, causing injury. It doesn’t heal itself, and it won’t wait for a convenient week.
- Forcing a crooked door closed by hand. If the door is binding because a cable or track failed, forcing it can bend panels and turn a repair into a replacement.
- Turning up the opener’s force setting to compensate for a stiff door. That overrides a safety feature and masks the real problem, which is almost always worn rollers or a binding track.
- Cleaning the tracks with grease. Lubricant on the track attracts grit and accelerates wear. Lube the rollers, hinges, and springs lightly; leave the track surfaces clean.
- Skipping the model number when you call. In Edison, knowing your door and opener brand from the label inside the motor housing shortens the diagnosis and gets the right parts the first time.
See the difference
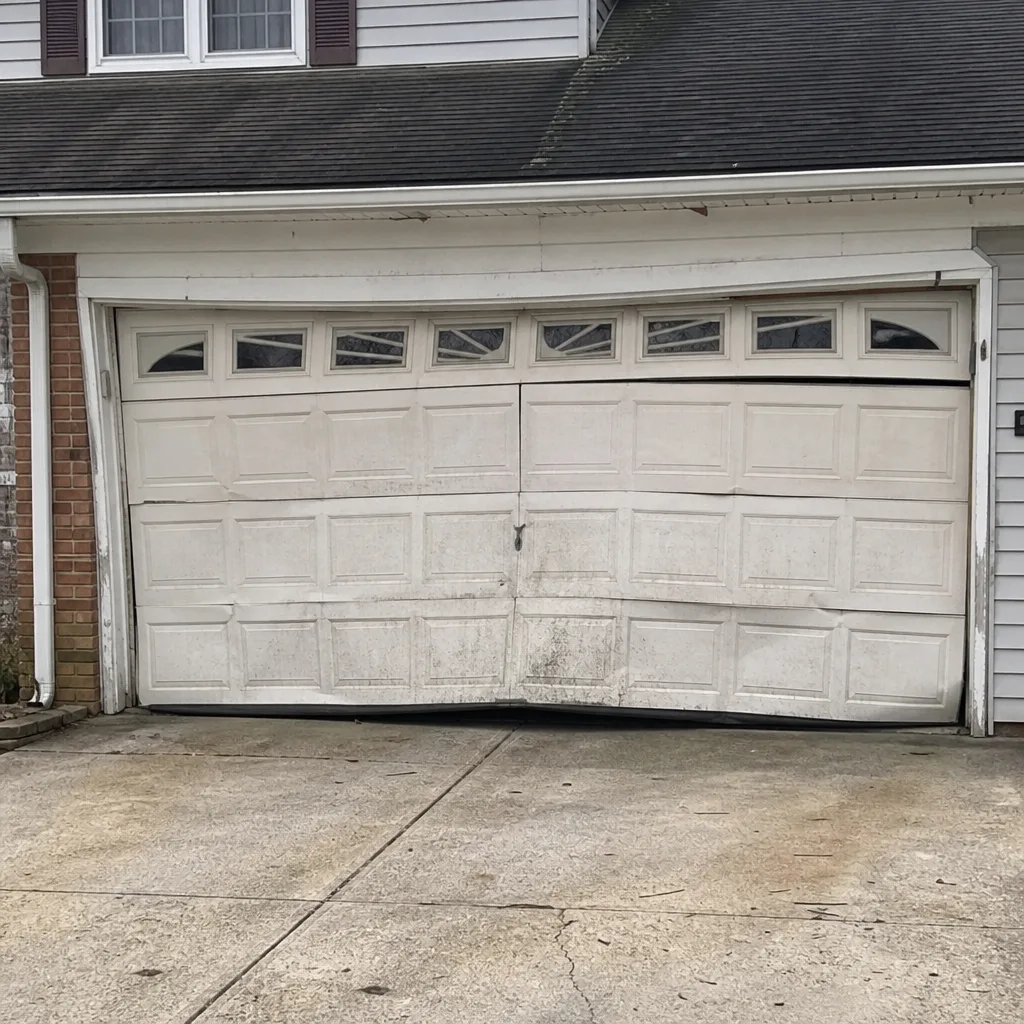 Before
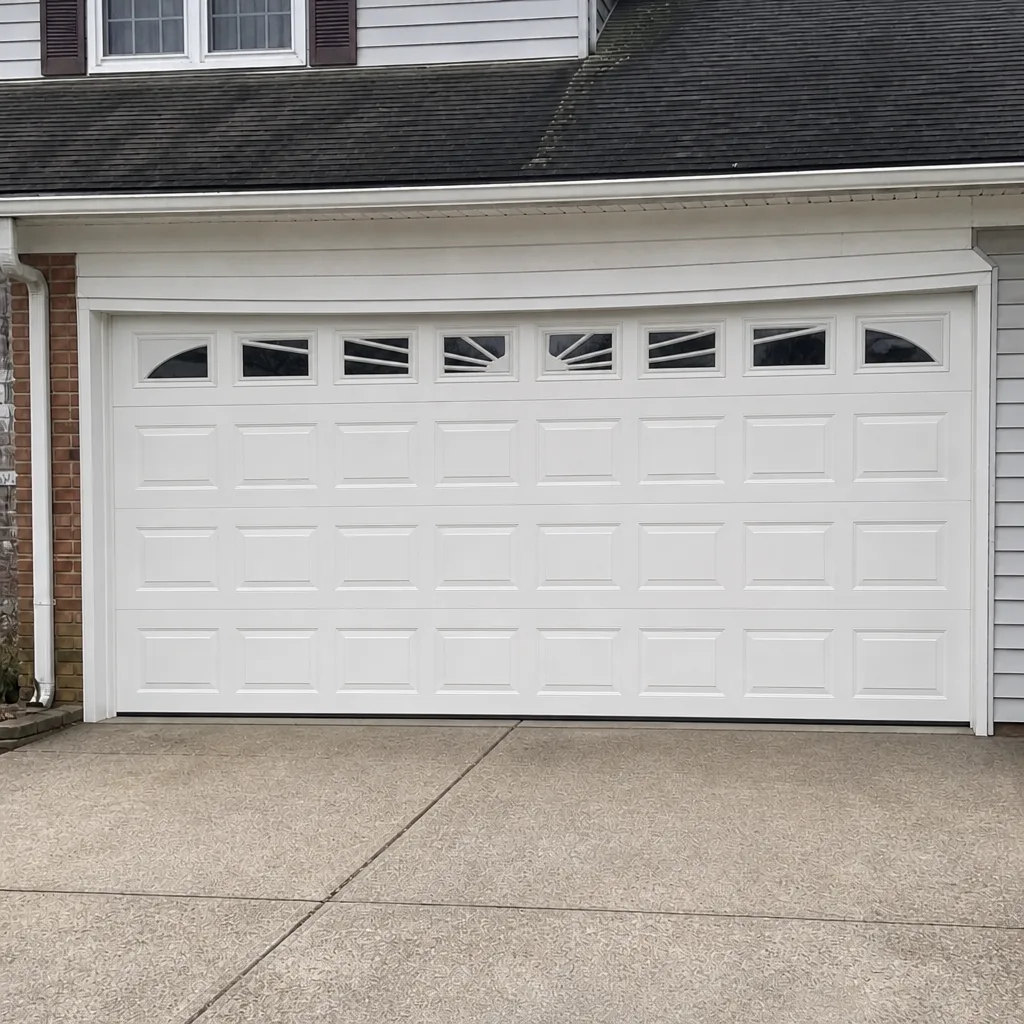 After
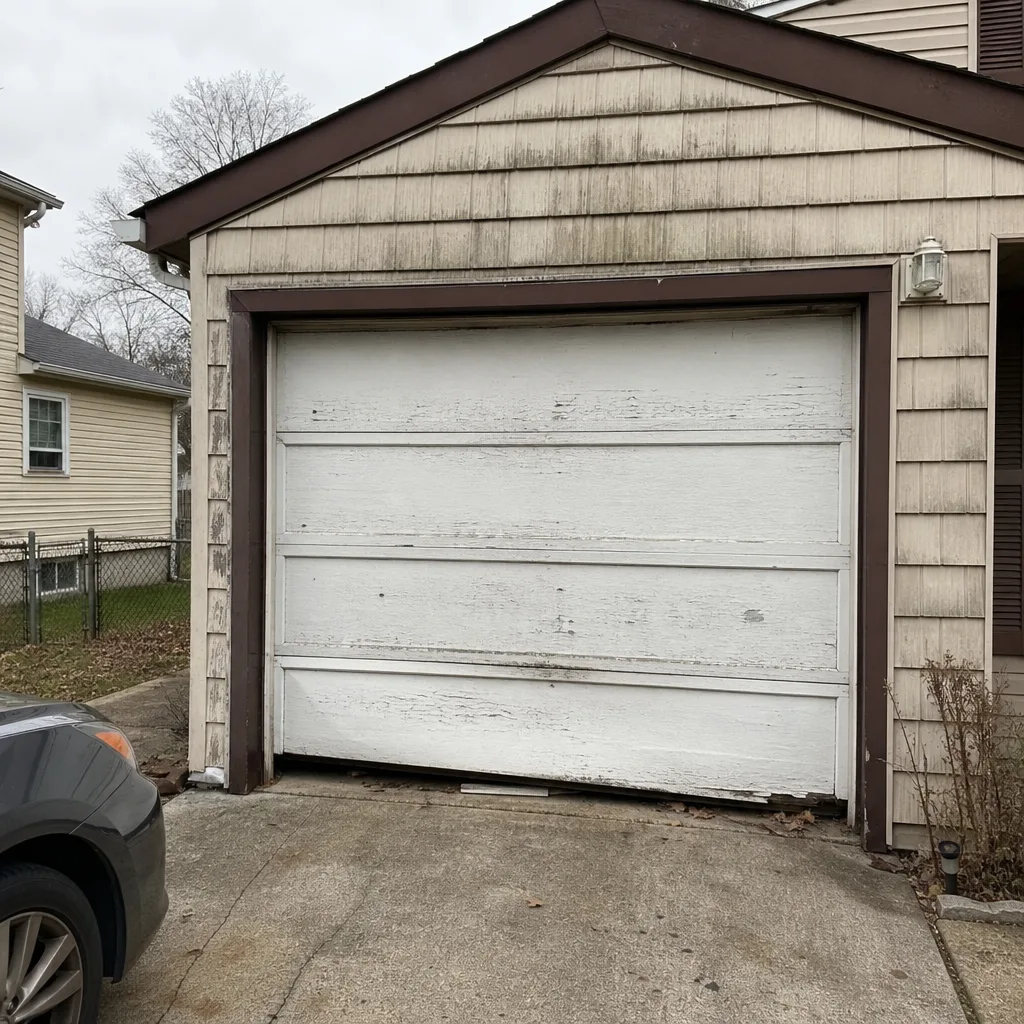 Before
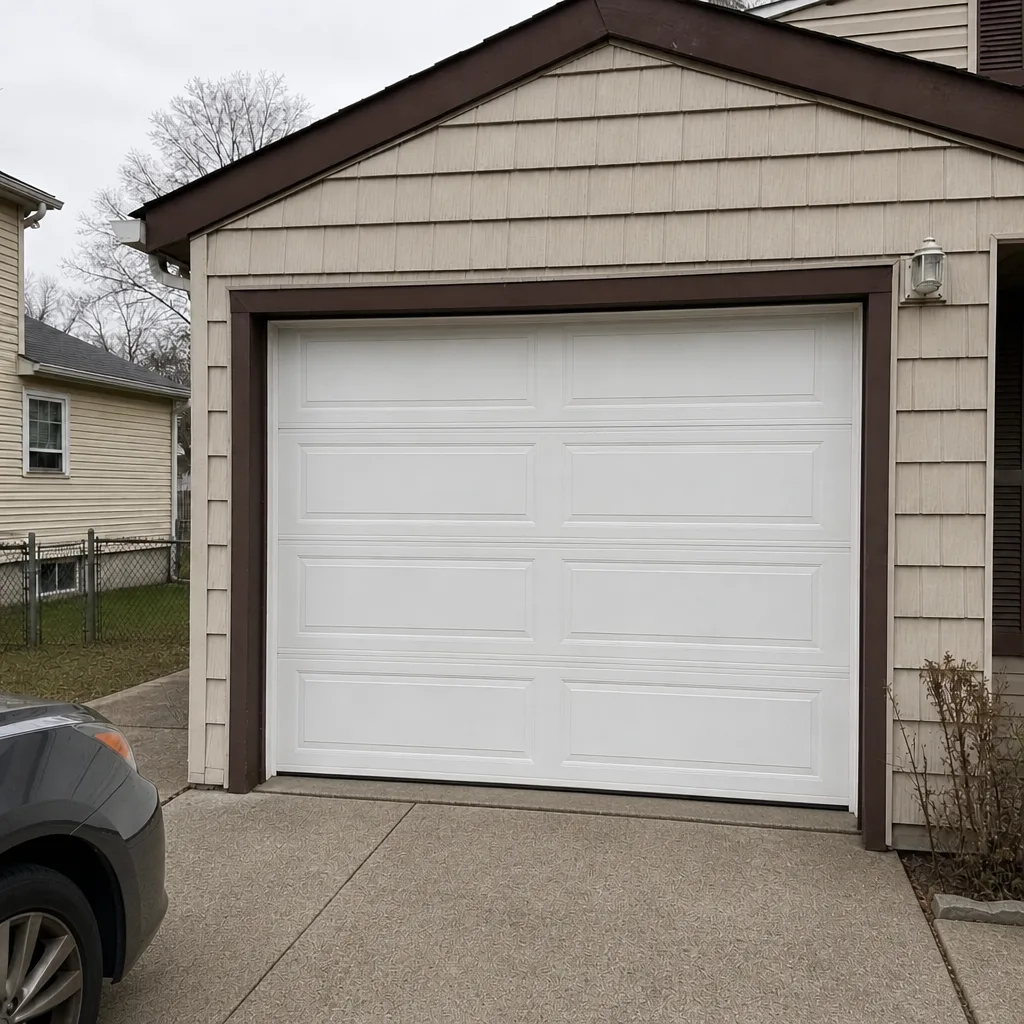 After
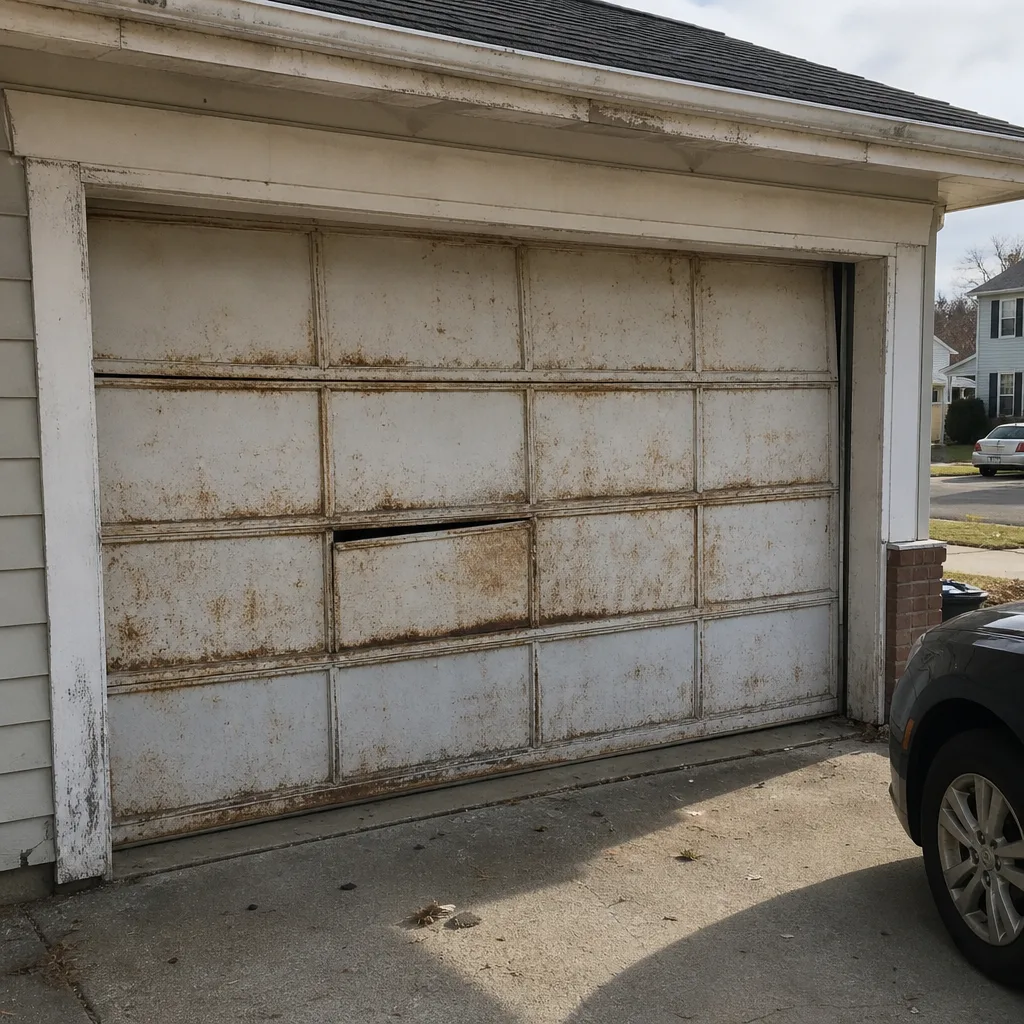 Before
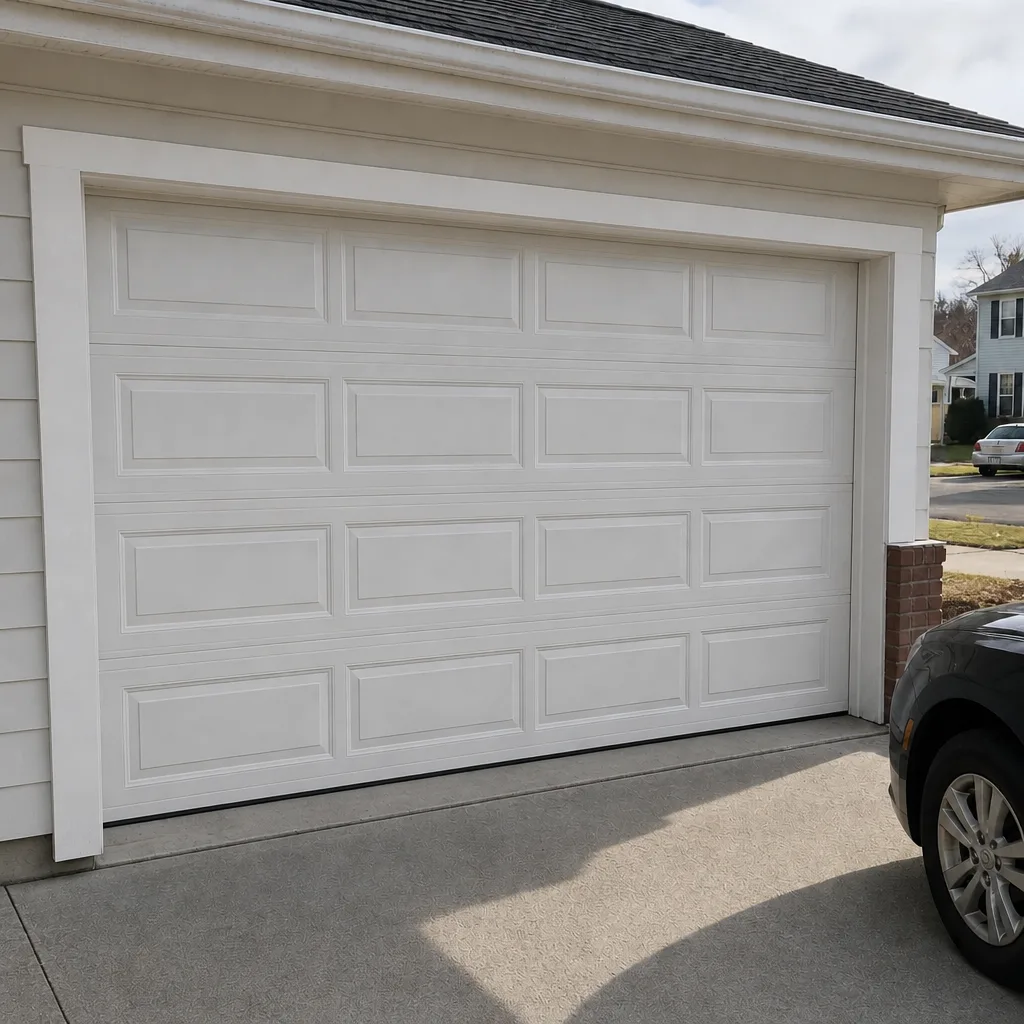 After
When to Call a Professional
Call a professional when the problem involves stored energy. That means springs, cables, drums, and any bracket holding a loaded component. Call when the door is crooked, hanging, or refuses to move after the manual release, because that’s a counterbalance failure. Call when you smell burning from the opener motor, hear grinding from inside the housing, or see scorch marks on the board. Call when the door reverses without an obstruction, because a safety sensor that isn’t working isn’t a small inconvenience. If you’re not sure, run the manual disconnect test and the sensor test first. If those point to the mechanism, stop there. Edison Garage Door Repair Pros offers free estimates in Edison. Call (855) 506-5081. We answer 24/7, with fast dispatch from 7am to 7pm, Sunday through Friday. The price is quoted and agreed before any work starts, and the written estimate sets the final price.
Frequently Asked Questions
A broken torsion spring makes a loud bang and leaves the door too heavy to lift by hand. Look for a visible gap in the coil above the door, and try the manual release to confirm the door won’t rise easily. If either sign is present, stop and call (855) 506-5081 for a free estimate. Estimates are free.
No. A crooked door usually means a failed cable or drum on one side, and that component is under tension. Forcing or adjusting it can cause serious injury or bend the door panels. A technician needs to diagnose and reset the system. Call (855) 506-5081 and we’ll take it from there.
Your safety sensors are misaligned, obstructed, or receiving glare. An eighth of an inch of misalignment is enough to trigger the reversal. Clean the lenses, check that both eyes point at each other, and remove any obstruction in the beam. If the door still reverses, the sensor or its wiring needs diagnosis.
Cost depends on which component failed, and we don’t quote from a diagnosis we haven’t done. You get a free estimate and a written price before any work begins, and that written estimate sets the final price. Call (855) 506-5081 for your exact quote. Estimates are free.
Find your model number on the label inside the motor housing, then check the manual for that exact code. Sensor and limit faults are usually correctable adjustments; board faults need a technician. If the code points to the board or the motor runs without moving the door, that’s a job for a trained technician. Call (855) 506-5081.
Yes. Emergency garage door service is part of what we do, because a door stuck open or shut affects your home’s security and access. We answer 24/7, and fast dispatch runs from 7am to 7pm, Sunday through Friday. A call outside dispatch hours is booked into the next opening. Call (855) 506-5081.
The Bottom Line
Garage door troubleshooting works best in order, not by symptom. Springs fail first, then cables, then rollers, then tracks, then the opener’s board. Run the safe tests yourself: manual disconnect, balance, sensors, obstruction. Stop at springs and cables, because that’s where the stored energy lives and where a trained technician earns their keep. If the diagnosis points to a loaded component, a crooked door, or a board fault, don’t force it. In Edison, Edison Garage Door Repair Pros can give you a free written estimate, diagnose the actual cause, and work on your exact system, whether it’s a LiftMaster, a Chamberlain, a Genie, or a Raynor. Call (855) 506-5081. We answer 24/7. Fast dispatch from 7am to 7pm, Sunday through Friday.
Explore more of what we do at Edison Garage Door Repair Pros.
Written by the team at Edison Garage Door Repair Pros.