
Last updated November 22, 2026
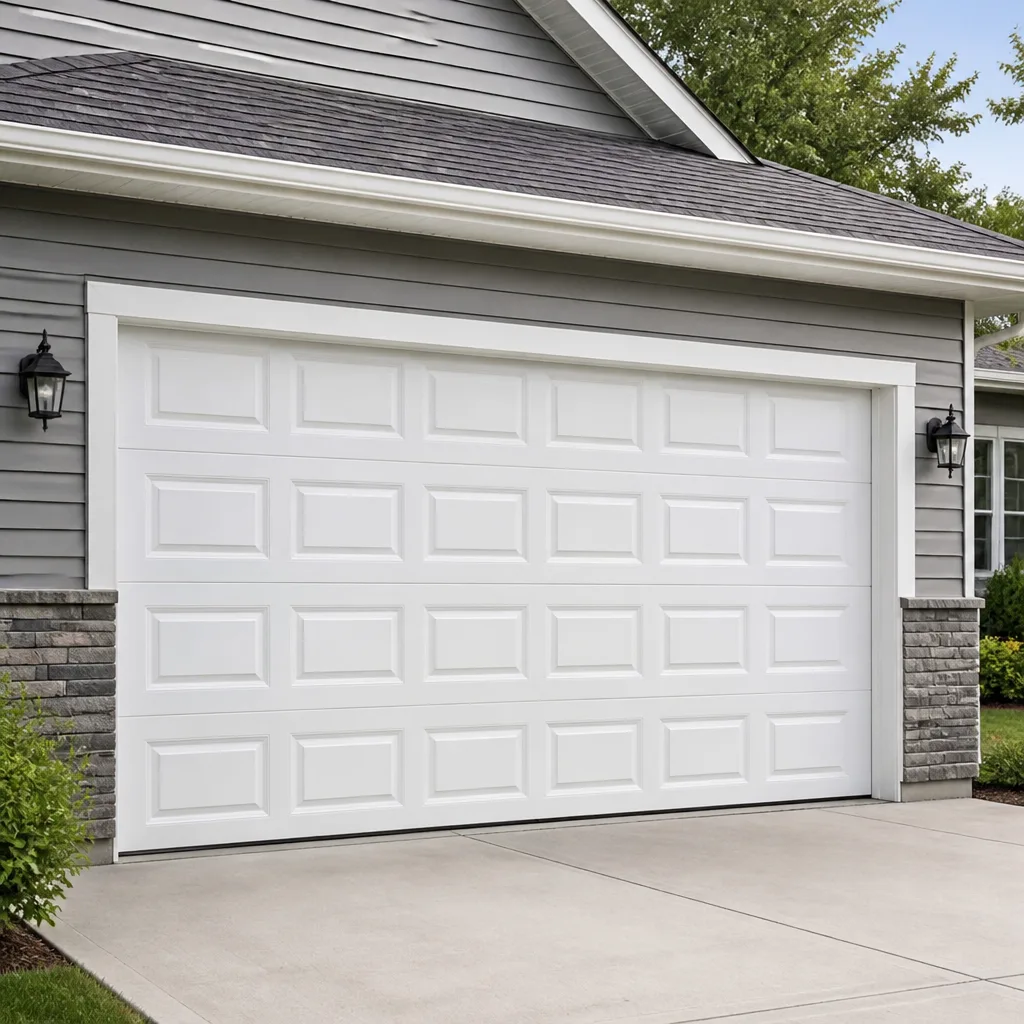 Raised-panel steel
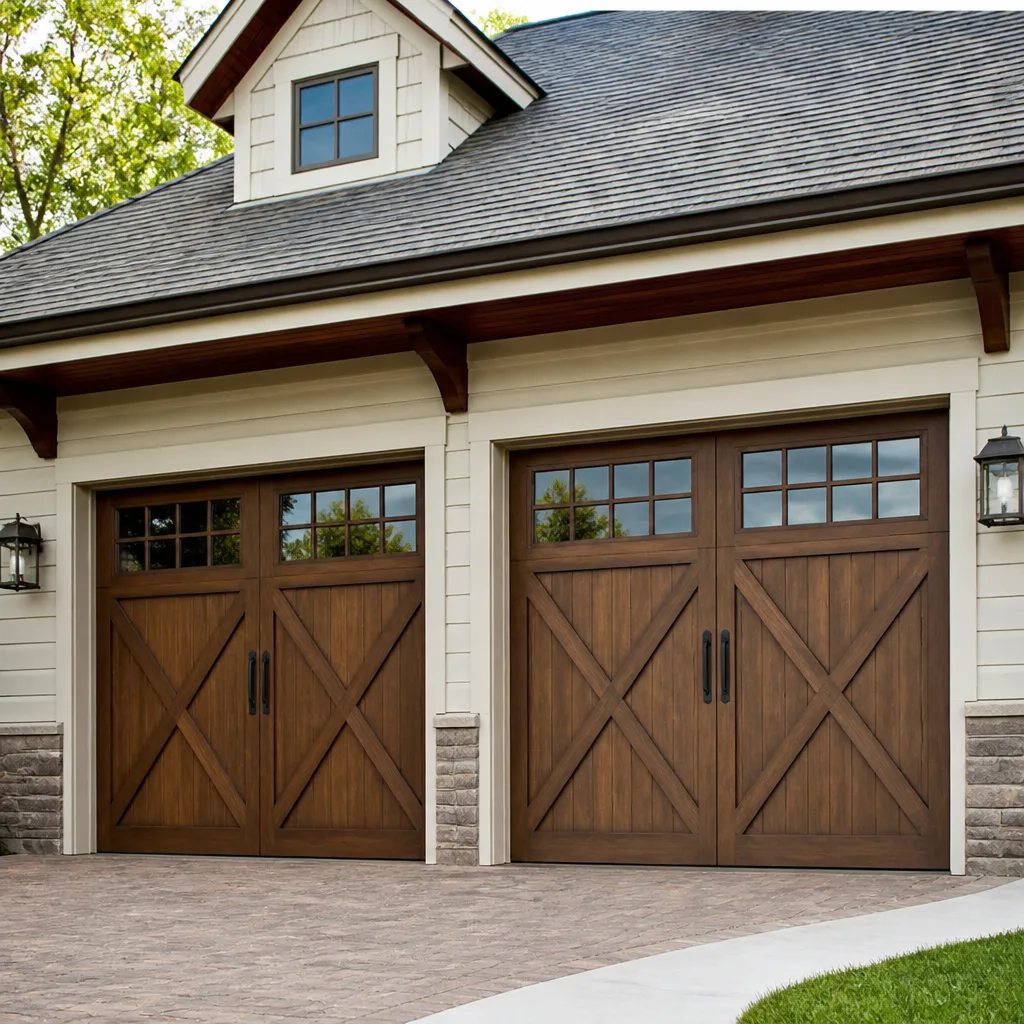 Carriage house
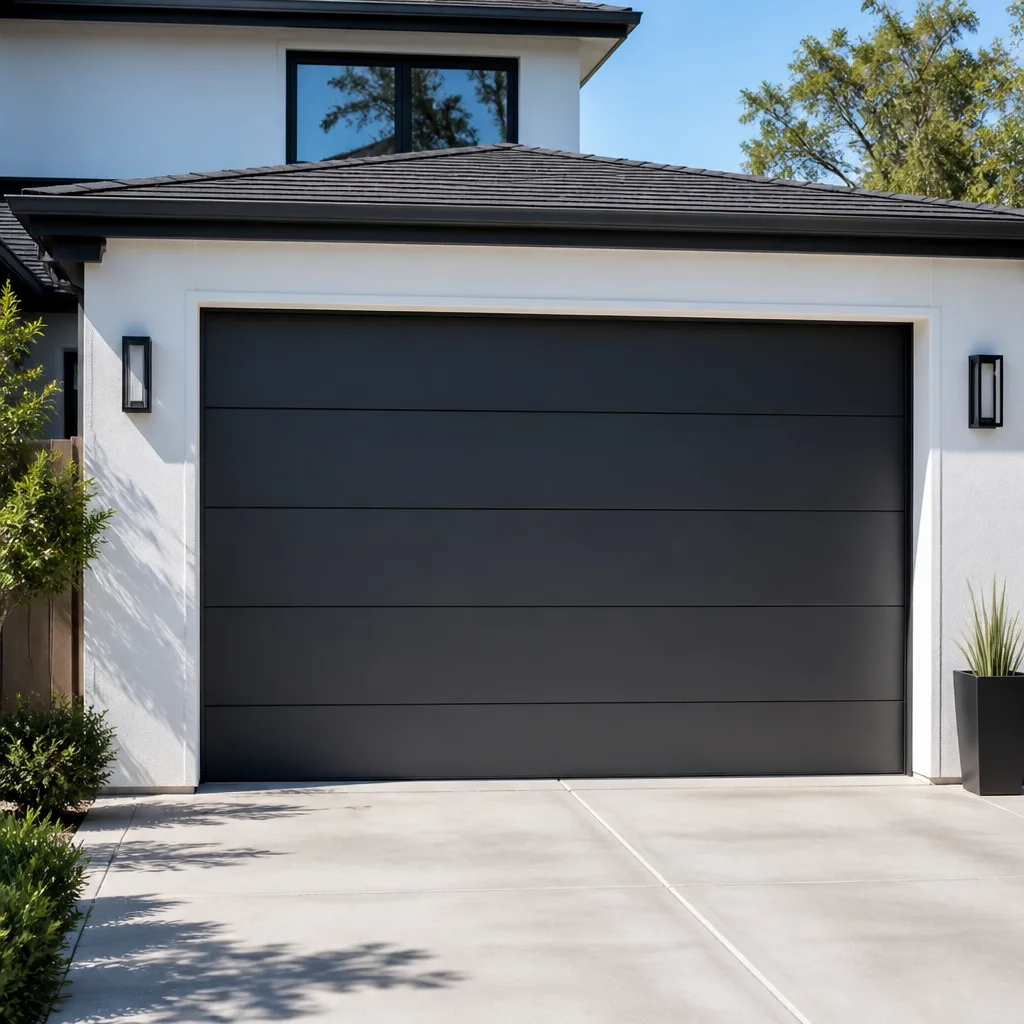 Modern flush
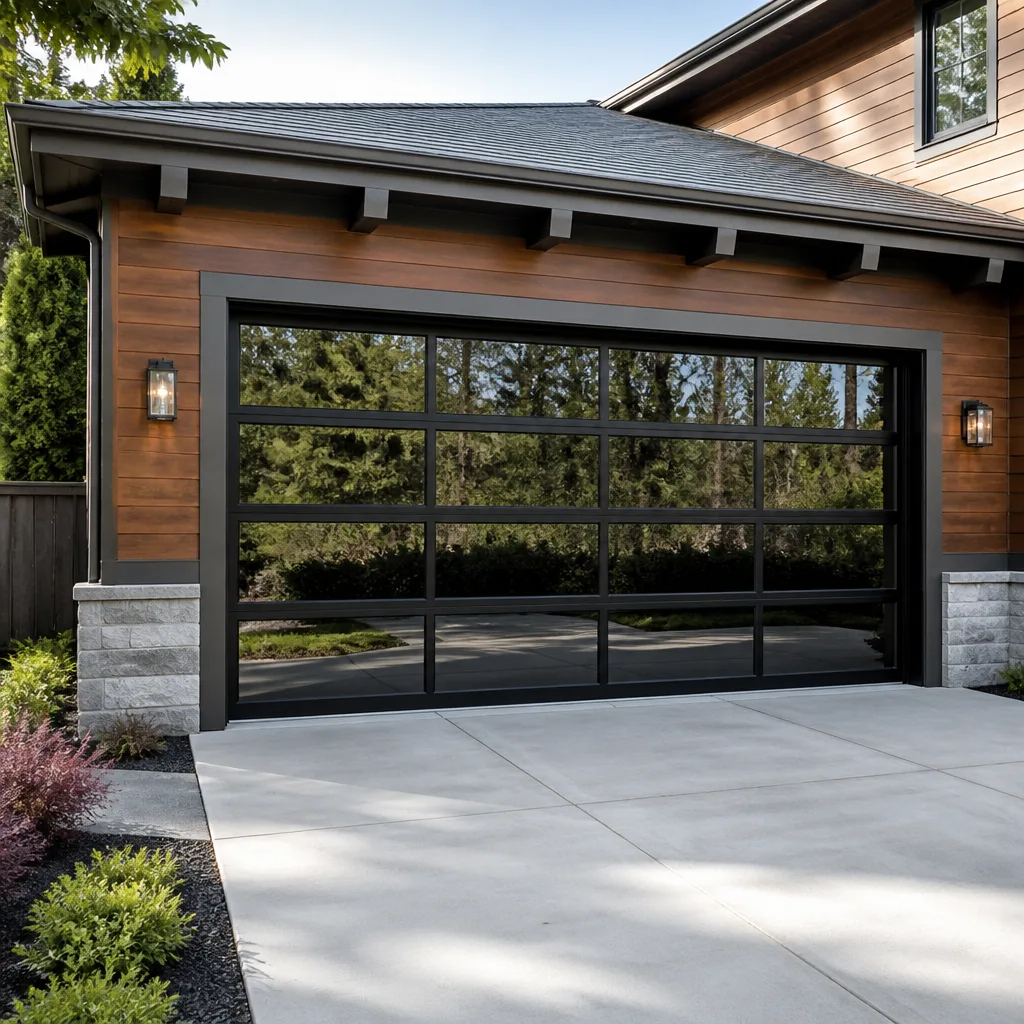 Full-view glass
 LiftMaster openers
 Chamberlain openers
Full 25-point door and opener safety check with every visit - springs, cables, rollers, tracks, and your LiftMaster or Chamberlain opener included
You get a price before we start. It does not change when the pro arrives.
Get your free estimateGarage Door Repair Maintenance Checklist for Edison Homeowners
A spring that “looks fine” can be a few weeks from snapping, and the thing that gives it away is a measurement almost no consumer checklist mentions: the gap between the coils. If you can slide a finger between two coils of a closed spring, that spring is already stretching toward failure. Most checklists stop at “listen for strange noises” and leave you with no way to tell a worn part from a healthy one. This guide fixes that. You’ll get real pass/fail thresholds for springs, cables, rollers and openers, so you know what needs a professional and what’s a five-minute adjustment. Every measurement here is something you can check in an afternoon in Edison.
Quick Answer
A proper garage door maintenance checklist for Edison covers four areas: spring and cable measurements (coil gap, cable wear, drum grooves), roller and track clearances, opener force calibration and safety reversal testing, and seasonal lubrication suited to your specific opener brand. Check the springs, cables and rollers visually every few months, test the auto-reverse monthly, and book a professional inspection before winter in October and again after winter in March. Anything that measures outside the tolerances below is a call-a-professional item, not a do-it-yourself job.
Styles & brands we work with
- Raised-panel steel
- Carriage house
- Modern flush
- Full-view glass
- LiftMaster openers
- Chamberlain openers
Table of Contents
- Checking Your Springs and Cables: The Measurements That Matter
- Roller, Track and Hinge Tolerances
- Testing Your Opener: Force Calibration and Auto-Reverse
- Lubrication by Brand: Why One Grease Doesn’t Fit All
- Seasonal Timing for Edison: October vs. March
- Five Tasks Homeowners Should Never Attempt
- Common Mistakes to Avoid
- Frequently Asked Questions
Checking Your Springs and Cables: The Measurements That Matter
Your springs and cables carry the whole weight of the door, and they fail by degrees. You can catch that progression with two cheap tools: a tape measure and your eyes. Here’s what to actually look for.
Spring coil gap: the early-warning measurement
Torsion springs sit above the door on a shaft; extension springs run along the sides. For either type, look at the coil spacing when the door is fully closed. On a healthy spring the coils sit close together with minimal gap. If you can insert a finger, a pencil, or a coin edge between two coils of a closed torsion spring, the spring has stretched past its working range and is on borrowed time. That gap is your single best indicator that a spring is approaching failure, and it’s exactly the measurement most checklists skip.
On extension springs, check the safety cable that should run through the center of each spring. If that cable is missing, loose, or frayed, the spring is unconstrained, and an extension spring that breaks without a safety cable becomes a projectile. That’s a stop-and-call situation.
Cable condition and drum groove wear
Cables should show no fraying, no kinks and no rust streaks. Run a hand lightly along the cable (with the door closed and the opener disconnected) and feel for broken strands or burrs. Any of those means the cable needs professional replacement, and it should be done in pairs with the spring if the spring is also worn.
Cable drums (the grooved spools at each end of the torsion shaft) should have clean, deep, even grooves. If the grooves look shallow, polished, or the cable is riding up over its own wraps rather than nesting in the groove, the drum is worn and the cable is being trained to jump. Pass/fail here is simple: a cable that sits fully in its groove is fine; a cable riding on top of a wrap is a fail. Drums and winding cables hold the full door load under tension, and that’s work for a trained technician.
What “acceptable wear” actually looks like
- Springs: coils touching or nearly touching = pass. Visible gap between coils = fail, book service.
- Cables: smooth, rust-free, fully seated in the drum groove = pass. Frayed, kinked or climbing over a wrap = fail.
- Drums: deep, even grooves = pass. Polished, shallow or worn grooves = fail.
- Bottom brackets: tight, no movement = pass. Any wobble, rust weeping, or bent bracket = fail, and don’t operate the door until it’s checked.
If you’re seeing several of the fail signs above, you’re past routine maintenance and into repair territory. We handle that as garage door spring repair, and a spring that’s stretching like this should be replaced in a matched pair, not one at a time.
Roller, Track and Hinge Tolerances
Rollers and tracks are the moving parts homeowners most often try to fix themselves, and they’re also where tolerances are easiest to check. The trick is knowing what “normal” looks like before you assume something is broken.
Roller clearance
A garage door roller is a wheel riding inside the track. On a healthy door, the roller’s edge sits snug inside the track channel with a small gap (roughly the thickness of a nickel, a matchbox-width) on either side. If a roller rattles loosely in the track, or if you can slide it side to side with obvious play, the roller is worn or the track is out of true. Worn rollers make the door noisy and put uneven strain on the opener and hinges.
Rollers should spin freely with no grinding. A roller that resists turning, wobbles on its stem, or has a flat spot has failed. A set usually wears together, so replacing them as a matched set makes more sense than swapping one at a time.
Track alignment
The vertical and horizontal tracks should be straight and parallel. Run a straightedge against the inside face of each track and look for gaps or bends, especially where the horizontal track meets the curved section at the top of the door path. A bent track will make the door bind, and a door that binds is more likely to come off its rollers. Don’t try to bend a track back by hand; a small misalignment can look like a big one after a rough correction.
Hinge tightness
Hinges connect the door panels. A hinge that moves when you wiggle it is loose, and a hinge that’s cracked or bent is a fail. Tighten loose hinge screws with a screwdriver, but if a screw spins in the wood, don’t just keep turning it, and don’t swap to a bigger screw. Stripped hinge screws are a technician fix, and forcing them can split the panel.
Panel and seal condition
Look along the bottom seal where the door meets the floor. Daylight showing under the door means the seal or the door height needs adjusting, which is worth fixing before cold air and water get in. Inspect panels for cracks or dents near the hinges. A cracked panel on a Clopay or Amarr door doesn’t always mean replacement; panel sections can often be swapped, but only a technician can confirm which panel profile fits your door.
Testing Your Opener: Force Calibration and Auto-Reverse
This is the one test you should run every month because it’s the one that directly relates to safety. The auto-reverse system is what stops the door from closing on a child, a pet or an object.
How the 2×4 test works
- Open the door fully and place a scrap 2×4 flat on the floor in the center of the door opening, where the door would come down.
- Close the door using the wall control or remote.
- When the door contacts the 2×4, it should reverse direction and reopen immediately, without strain and without continuing down.
- If it stops and holds pressure against the board instead of reversing, or reverses only after pushing hard, the force setting is too high. That’s a safety adjustment, not a convenience adjustment.
Combine that with the photo-eye test: with the door open, break the beam between the two sensors near the floor (a shoe or a bucket works), then press the close button. The door should refuse to close or reverse immediately. If either test fails, stop using the door until the opener is serviced. Auto-reverse and force limits are the opener’s main job; a door that closes hard is a hazard.
What force calibration is and isn’t
Force calibration is the sensitivity setting that tells the opener how hard to push before it gives up. Too low and the door won’t close; too high and it won’t sense an obstruction in time. Most openers let you adjust it, but the setting interacts with the balance of the door. If your springs are stretched, the opener works harder and the force setting becomes a crutch hiding a mechanical problem. Get the door balanced and the opener calibrated together, not one without the other.
Opener brand and age behavior
Every opener brand behaves differently as it ages. Belt-drive units tend to quiet down or develop a whine when the belt stretches; chain-drive units get noisy when the chain needs tension or lubricant. LiftMaster myQ and Chamberlain openers with smart features may log a diagnostic code to the app before the door actually fails, and Genie units with their Aladdin platform do the same. Check the app or the opener’s error lights before you assume the motor is dead. If the opener is failing, that’s garage door opener repair rather than a door problem, and the fix is usually a part swap, not a new opener.
Lubrication by Brand: Why One Grease Doesn’t Fit All
The wrong lubricant on the wrong opener is a common cause of premature wear, and it’s the kind of thing you only learn by working on dozens of each brand. What keeps a chain drive running smoothly will gum up a belt drive. What suits one door track may dry out and attract grit on another.
Chain-drive openers (LiftMaster, Chamberlain, Craftsman)
Chain-drive openers run on a metal chain and rail, and that chain benefits from a light grease or a dedicated chain lubricant applied to the chain links and the rail. LiftMaster and Chamberlain chain drives are built for a regular thin film of lubricant; Craftsman units use a similar rail design. The trick is to use a light coating, not a heavy slather. Excess grease on a chain drive collects grit and grinds.
Belt-drive openers (LiftMaster, Chamberlain)
Belt-drive openers use a rubber or fiber-reinforced belt that should never have standard chain grease on it. Belt-drive belts need no grease on the belt itself; the tension and the pulley are what matter. If you apply chain grease to a belt drive, the belt can swell, slip or squeal. A belt drive that starts squeaking usually needs a tension check, not another coat of anything.
Screw-drive and specialty rails (Genie)
Screw-drive openers from Genie run a threaded shaft and typically need a light grease on the screw only, and only when the manufacturer’s manual says so. Genie’s rail designs vary by model, so check the manual for your specific opener rather than applying a general rule. Over-lubrication on a screw drive is a common mistake and can cause the carriage to slide rather than grip.
Tracks, rollers and hinges
Door hardware (tracks, rollers, hinges) benefits from a light spray lubricant applied to the rollers’ stems and the hinge pivot points, plus a thin film on the horizontal track where the rollers ride. Avoid heavy grease on the vertical tracks; grit sticks to it and the rollers start to grind. For screws and torsion tubes, don’t lubricate, and don’t touch the springs. Springs should never be greased or oiled, because a lubricated spring is one you might handle with slippery hands. That’s one more reason springs belong to a technician.
Brand-specific notes
Clopay and Amarr door panels require no lubrication. Your lubricant time goes to the opener and the door hardware. We work with all eight of the major brands, so we adjust the recommendation to the actual system in front of us rather than a generic one-size-fits-all rule. For anything beyond basic hardware lubrication, treat it as part of your garage door repair inspection.
Seasonal Timing for Edison: October vs. March
North Jersey weather swings hard between a humid summer and a deep winter, and Edison doors feel it. The right maintenance schedule is a twice-a-year cycle: a pre-winter check in October and a post-winter check in March. Each one has a different focus.
October: batten down before the cold
- Test the auto-reverse and force limits before the freeze, so a safety setting doesn’t fail when it’s needed.
- Lubricate the opener and hardware with the correct product for your brand. Cold weather stiffens lubricant, so use a cold-rated or lighter lubricant in autumn.
- Inspect the bottom seal and threshold for gaps that let in cold air, melting snow and water. New Jersey winters mean freeze-thaw cycles at the door opening.
- Check the balance of the door by hand. A door that won’t stay halfway open when you release the opener is out of balance.
- Look at the springs for gap and the cables for rust while the weather is still mild enough to inspect comfortably.
March: what winter exposes
- Recheck springs and cables. A stretch that was borderline in October often fails by March. Coil gap and cable wear should be measured again.
- Inspect the bottom seal for cracks, hardening or a broken seal after months of freeze-thaw.
- Look for rust on the track, rollers and hinges. The wet end of a New Jersey winter is rough on painted steel.
- Re-test force and auto-reverse. Cold contraction and a winter’s worth of cycles can shift the balance.
- Check the door panels for cracks or warping that developed during the cold.
If the October check turned up something you meant to fix and didn’t, the March check is your last chance to catch it before spring. A door that only pops its springs in deep winter is a door that ends up locked out or locked in. Scheduling an inspection in October is a lot easier than an emergency call in January, and the season for Edison Garage Door Repair Pros service calls gets busy exactly then.
Five Tasks Homeowners Should Never Attempt
Plenty of maintenance is homeowner territory: lubrication, visual checks, the monthly auto-reverse test, cleaning the photo eyes. Then there’s a short list where the risk to hands, arms and head goes up sharply, and no checklist item is worth a hospital visit.
- Adjusting, winding, or unwinding torsion springs. These springs hold the full weight of the door under extreme tension. A spring under tension that’s released improperly can snap with enough force to cause serious injury. This is the single most important “never” on the list.
- Replacing or re-tensioning extension springs. Extension springs store energy just like torsion springs and can become projectiles if released without the right tooling. Even with a safety cable, that’s a trained-technician job.
- Cutting or re-crimping the lift cables. Cables are under load from the springs. Touching them without first de-energizing the springs is dangerous, and done wrong, the drum can spin free and unspool.
- Working on the opener’s force and travel limits when the door isn’t balanced. Setting the opener’s force limit too high to compensate for a binding door defeats the safety system. That’s an opener and balance problem for a professional.
- Straightening a warped track or panel by force. Panels and tracks are under spring load even when they look static. Bending them back by hand can pinch rollers or throw the door off its hinges. Leave track alignment to a technician.
Springs are the big one. We handle them as a standard service, and the reason we’re careful to say so is that spring failures are both common and genuinely dangerous. Our technicians have up to 11 years of experience, and spring service is a core part of what they do.
Common Mistakes to Avoid
- Judging a spring by looks instead of gap. A spring can look perfectly fine and still have a coil gap that says it’s about to break. Measure the gap; don’t trust the visual.
- Using the wrong lubricant for your opener. Chain grease on a belt drive, or heavy grease on vertical tracks, can cause slipping, swelling and grit buildup. Match the lubricant to the brand and drive type.
- Skipping the auto-reverse test. It’s the one check that protects people, not just the door, and it takes two minutes. A force setting that drifts over the year is a safety issue you can catch early.
- “Fixing” a binding door with a bigger force setting. If the door binds, something in the tracks, hinges or balance is wrong. Turning up the force is like turning up the radio to cover a knock.
- Ignoring the bottom seal and threshold. In Edison’s freeze-thaw winters, a worn bottom seal is the first place water and cold air get in, and a cracked seal means a drafty door and a wet floor all winter.
- Replacing springs one at a time. Springs are usually replaced as a matched pair. Replacing one leaves a new spring working against an old one, which can fail soon after and look like a defect.
- Treating a general handyman as a garage door specialist. A generalist who guesses at your LiftMaster or Chamberlain hardware can adjust the wrong setting and leave you with a bigger problem. A dedicated garage door specialist works on your exact system.
See the difference
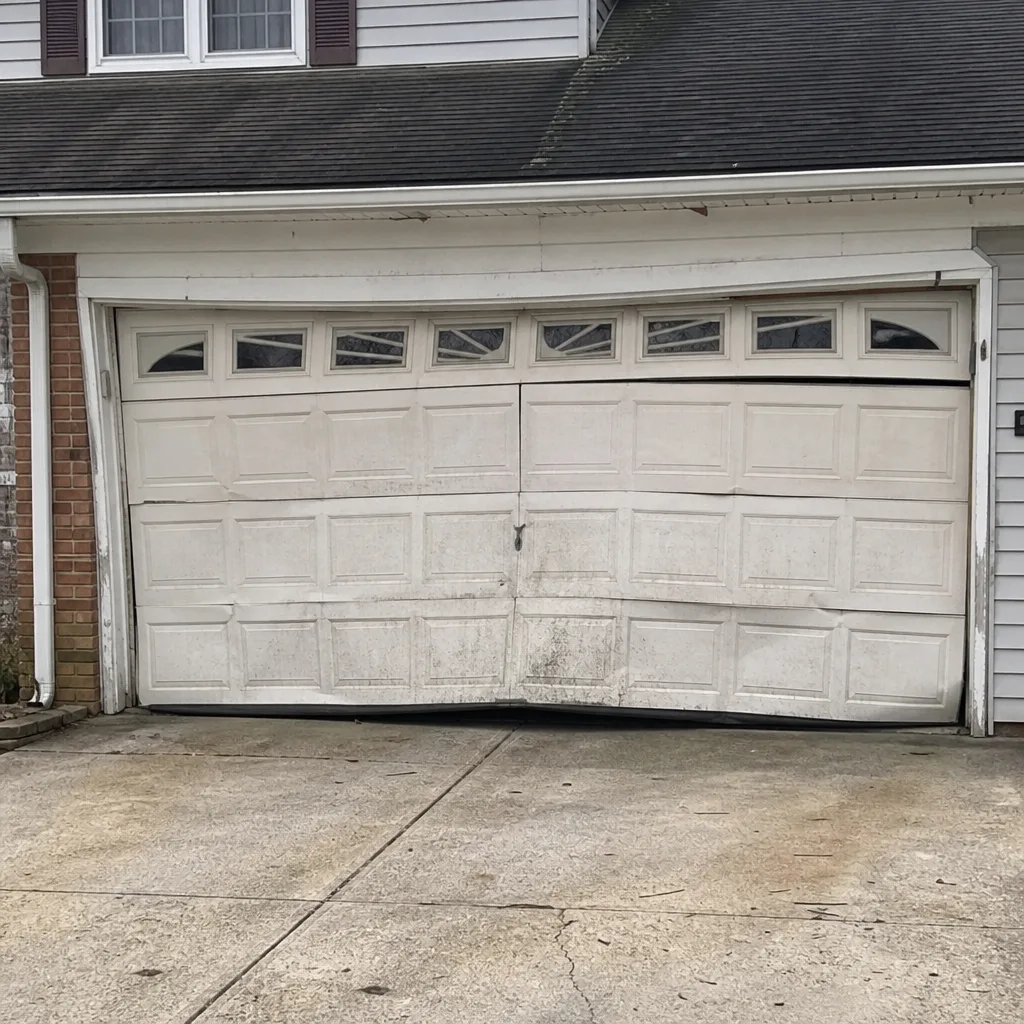 Before
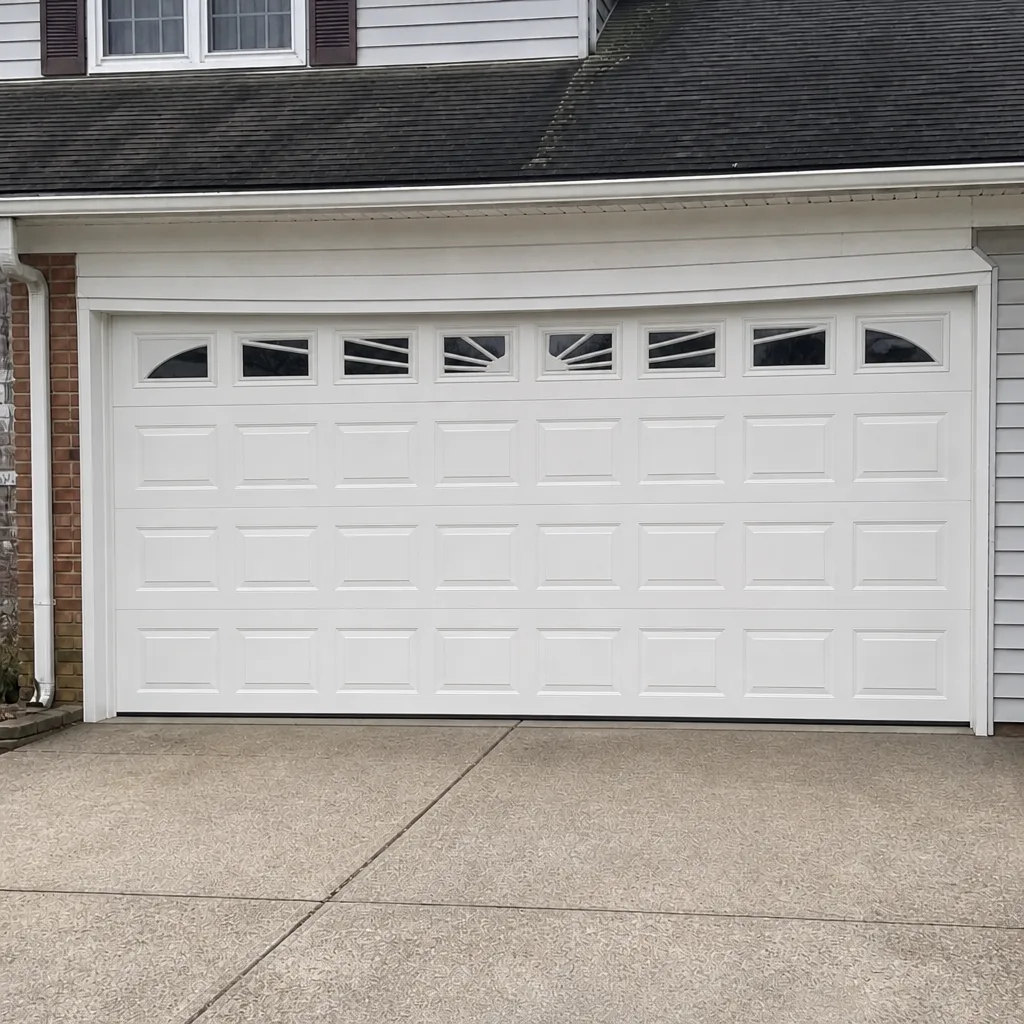 After
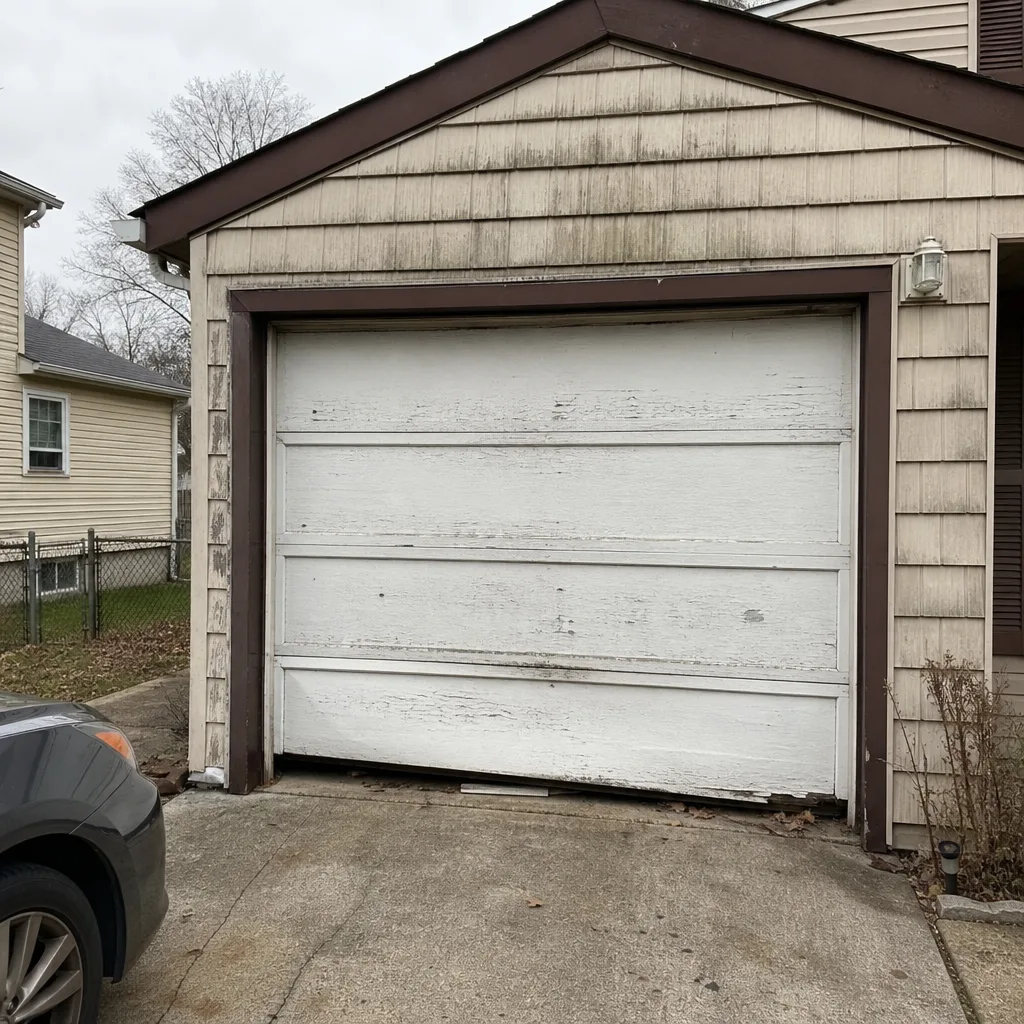 Before
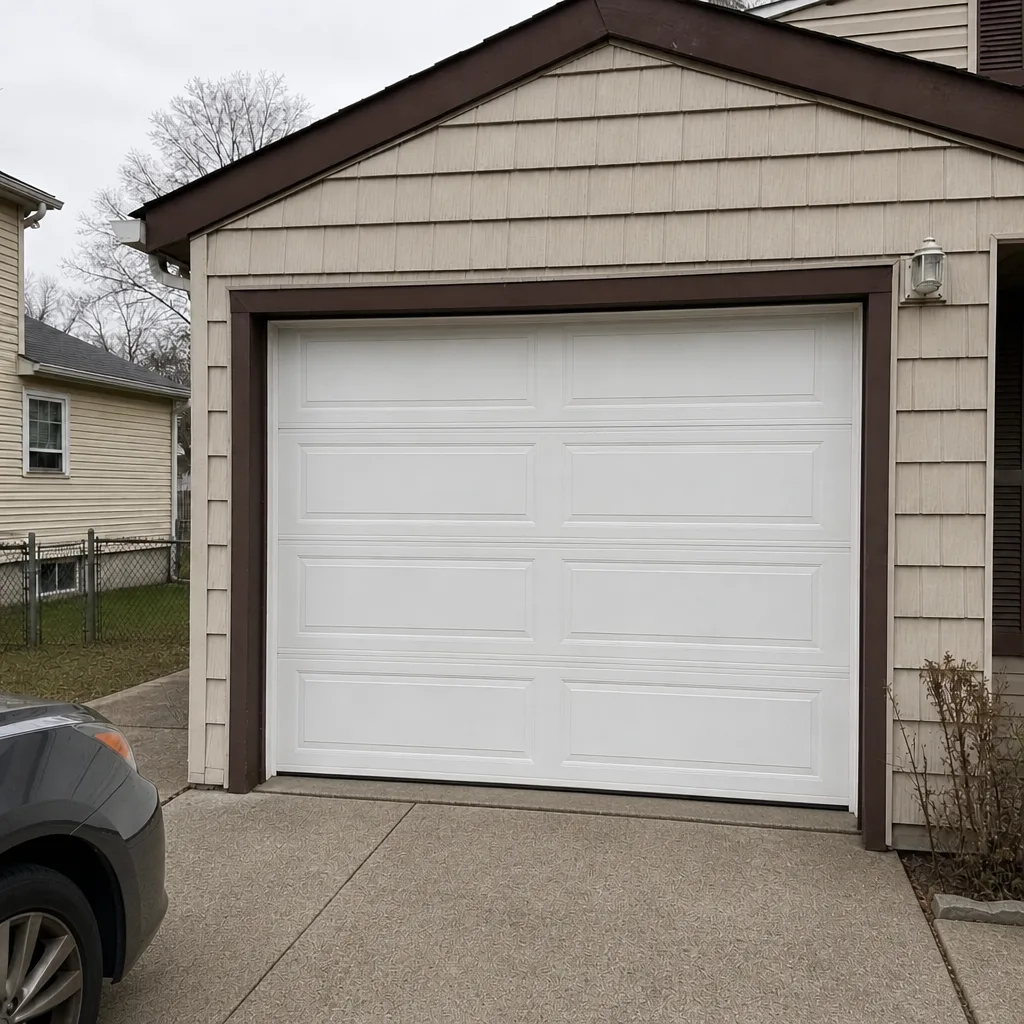 After
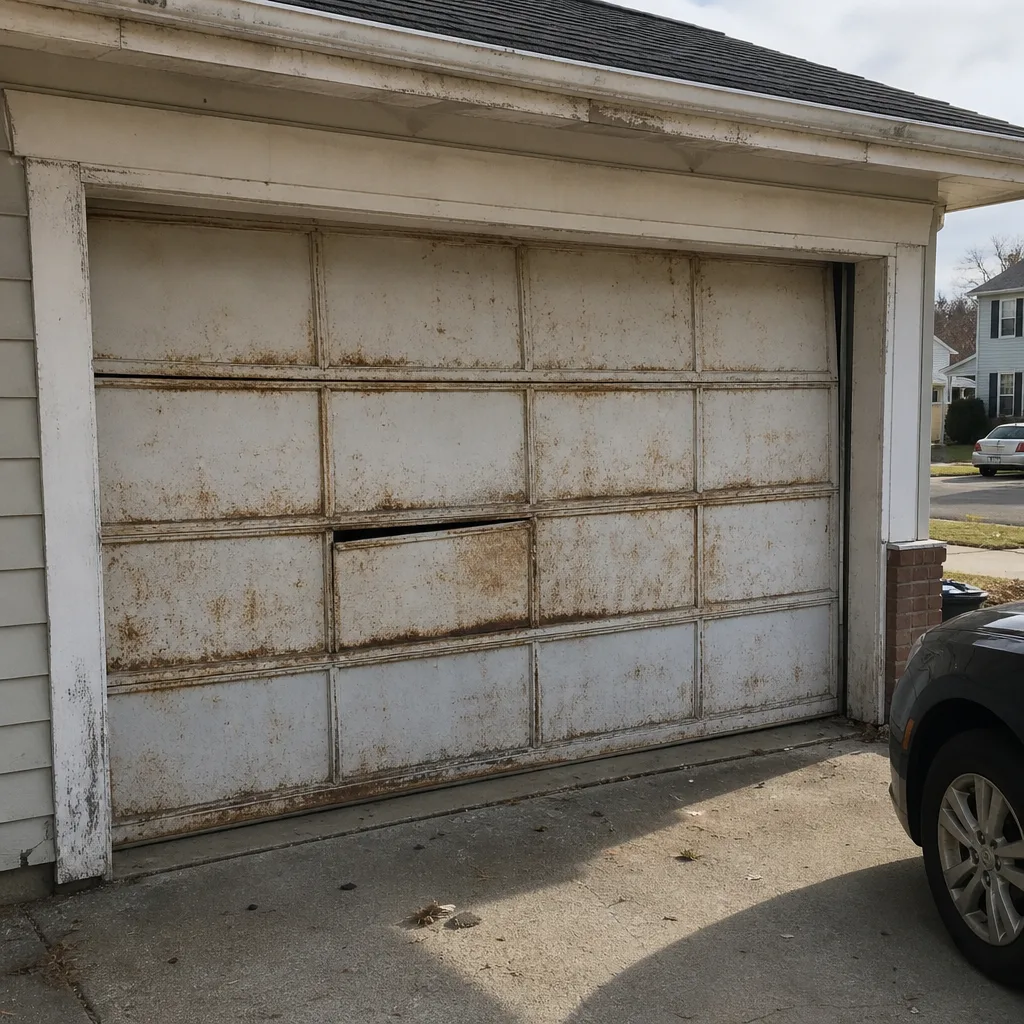 Before
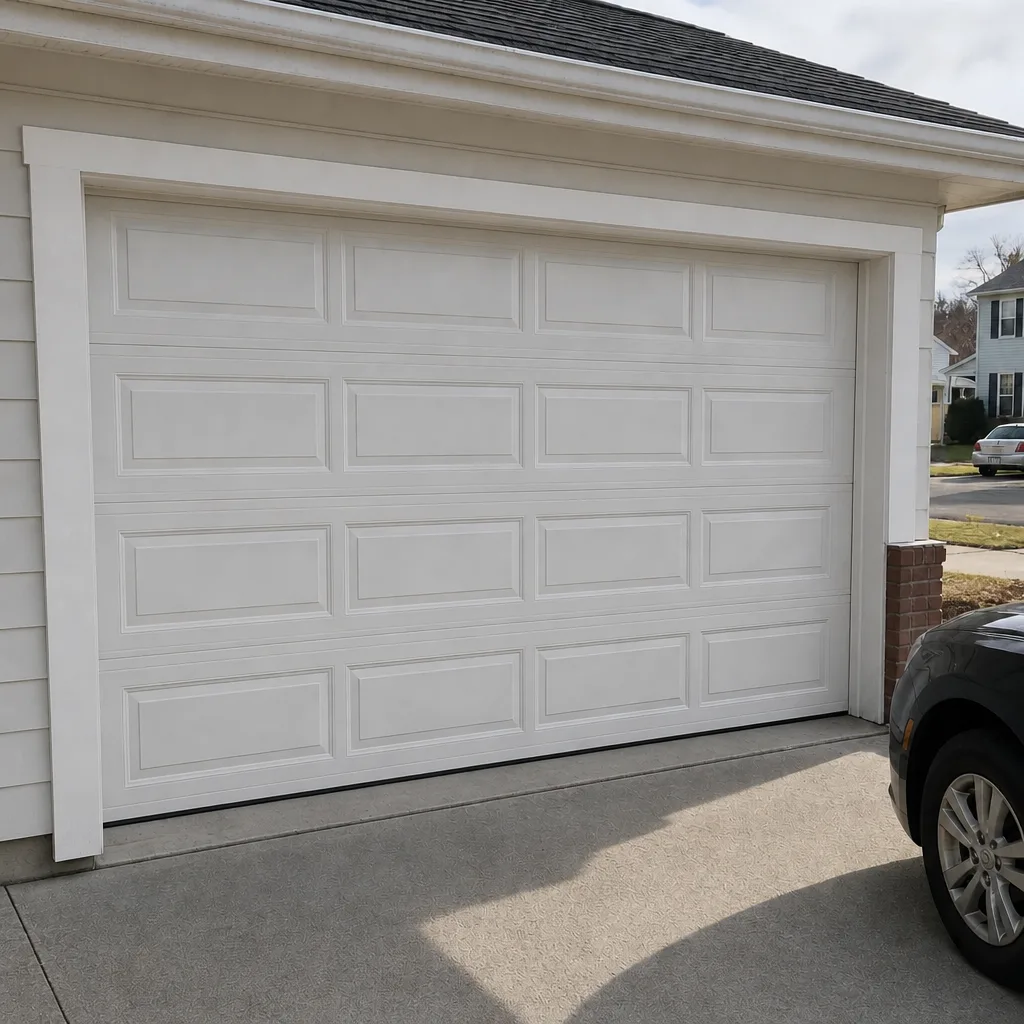 After
When to Call a Professional
Call a professional the moment any measurement falls outside the tolerances above, and call immediately if you see any of these: a spring with a visible coil gap or a broken spring, a cable that’s frayed or climbing over a drum wrap, a door that won’t stay up, a door that binds, a bent track, a loose or cracked bottom bracket, an opener that fails the 2×4 test, or a photo-eye that won’t break the beam. Also call if your door is stuck open or closed and you need it working today. We answer 24/7 and offer emergency garage door service, fast dispatch from 7am to 7pm, Sunday through Friday. Edison Garage Door Repair Pros offers free estimates in Edison. Call (855) 506-5081 for a free estimate, and we’ll set the price per job in writing before any work starts.
Frequently Asked Questions
Test the auto-reverse and force settings every month with the 2×4 method, and repeat the full check in October before winter and March after it. The test takes a couple of minutes and catches a safety setting that has drifted before it becomes a hazard. If the door doesn’t reverse on the 2×4 or the photo eye fails, call (855) 506-5081 and we’ll get an opener technician out.
The spring coil check is the one that matters most. If you can see daylight or fit a finger between the coils of a closed torsion spring, the spring is stretched and near failure, and the door shouldn’t be used until it’s checked. If you find that gap, don’t try to adjust anything yourself; call (855) 506-5081 and ask for a spring inspection.
Yes, for the door hardware and, with the right product, the opener. Lubricate rollers’ stems and hinge pivot points with a light spray and put a thin film on the horizontal track. For the opener, use a light chain lubricant on a chain drive and nothing that acts like grease on a belt drive. If you’re not sure which drive type your LiftMaster or Chamberlain opener has, call (855) 506-5081 and we’ll walk you through it.
In Edison, cold weather is the usual cause: a stiff door, a stretched spring working harder, or a force limit set too low for the cold. Any of these can trip the opener’s reverse. Don’t raise the force limit until you’ve checked the balance of the door. If the door won’t close reliably, call (855) 506-5081 for a free estimate and a written price before work begins.
No. The written estimate we give you is the price, agreed before any work starts, and that’s true for a spring repair, an opener part swap or a door tune-up. If we find something extra that needs attention, we quote it separately and you decide whether to move forward. Call (855) 506-5081 for your free estimate.
The local professional we connect you with is licensed and insured as their state requires, and the work stays within garage doors, so you’re not hiring a multi-trade handyman who dabbles. Our technicians have up to 11 years of experience and work across all eight of the major brands, including Chamberlain, Genie, Clopay and Amarr. Call (855) 506-5081 to book an estimate.
The Bottom Line
Good garage door maintenance is less about a long list and more about a few key measurements with clear rules. Watch the spring coil gap, check the cable and drum condition, look at roller clearance and track alignment, and run the auto-reverse test monthly. Match your lubricant to your opener’s brand and drive type, and schedule the two Edison seasonal checks: October for the cold and March for what winter left behind. When a measurement fails, or anything involves springs, cables, tracks or the opener’s force limits, that’s a call to a garage door specialist. This checklist gives you the confidence to know the difference, and to keep your door running smoothly through every season.
If any item on this list turned up a problem, or if you’d rather have a trained technician run the whole checklist on your exact system, call (855) 506-5081 for a free estimate. We answer 24/7. Fast dispatch from 7am to 7pm, Sunday through Friday, and we’ll set the price in writing before any work starts.
Written by the team at Edison Garage Door Repair Pros.